Using overlays and lower thirds in videos and live streams is crucial for boosting leads and sales. They enhance brand recognition by consistently showcasing logos, colors, and graphics, making your content more memorable and professional. A polished appearance increases viewer trust and engagement.
Overlays and lower thirds also deliver essential information without distracting from the main content. They feature call-to-action prompts, encouraging viewers to visit websites, sign up for newsletters, or take advantage of promotions, directly driving leads and sales.
Additionally, they offer promotional opportunities, highlighting special deals, discounts, and upcoming events to prompt immediate action. Displaying social proof through testimonials or user-generated content helps build credibility and persuade potential customers.
Well-designed overlays and lower thirds guide viewer attention, improve the viewing experience, and increase the likelihood of converting viewers into leads and sales.
Step 1: Install and Open OBS Studio
- Download OBS Studio from OBS Studio’s official website.
- Install OBS Studio on your computer by following the on-screen instructions.
- Open OBS Studio once the installation is complete.
Step 2: Create a New Scene
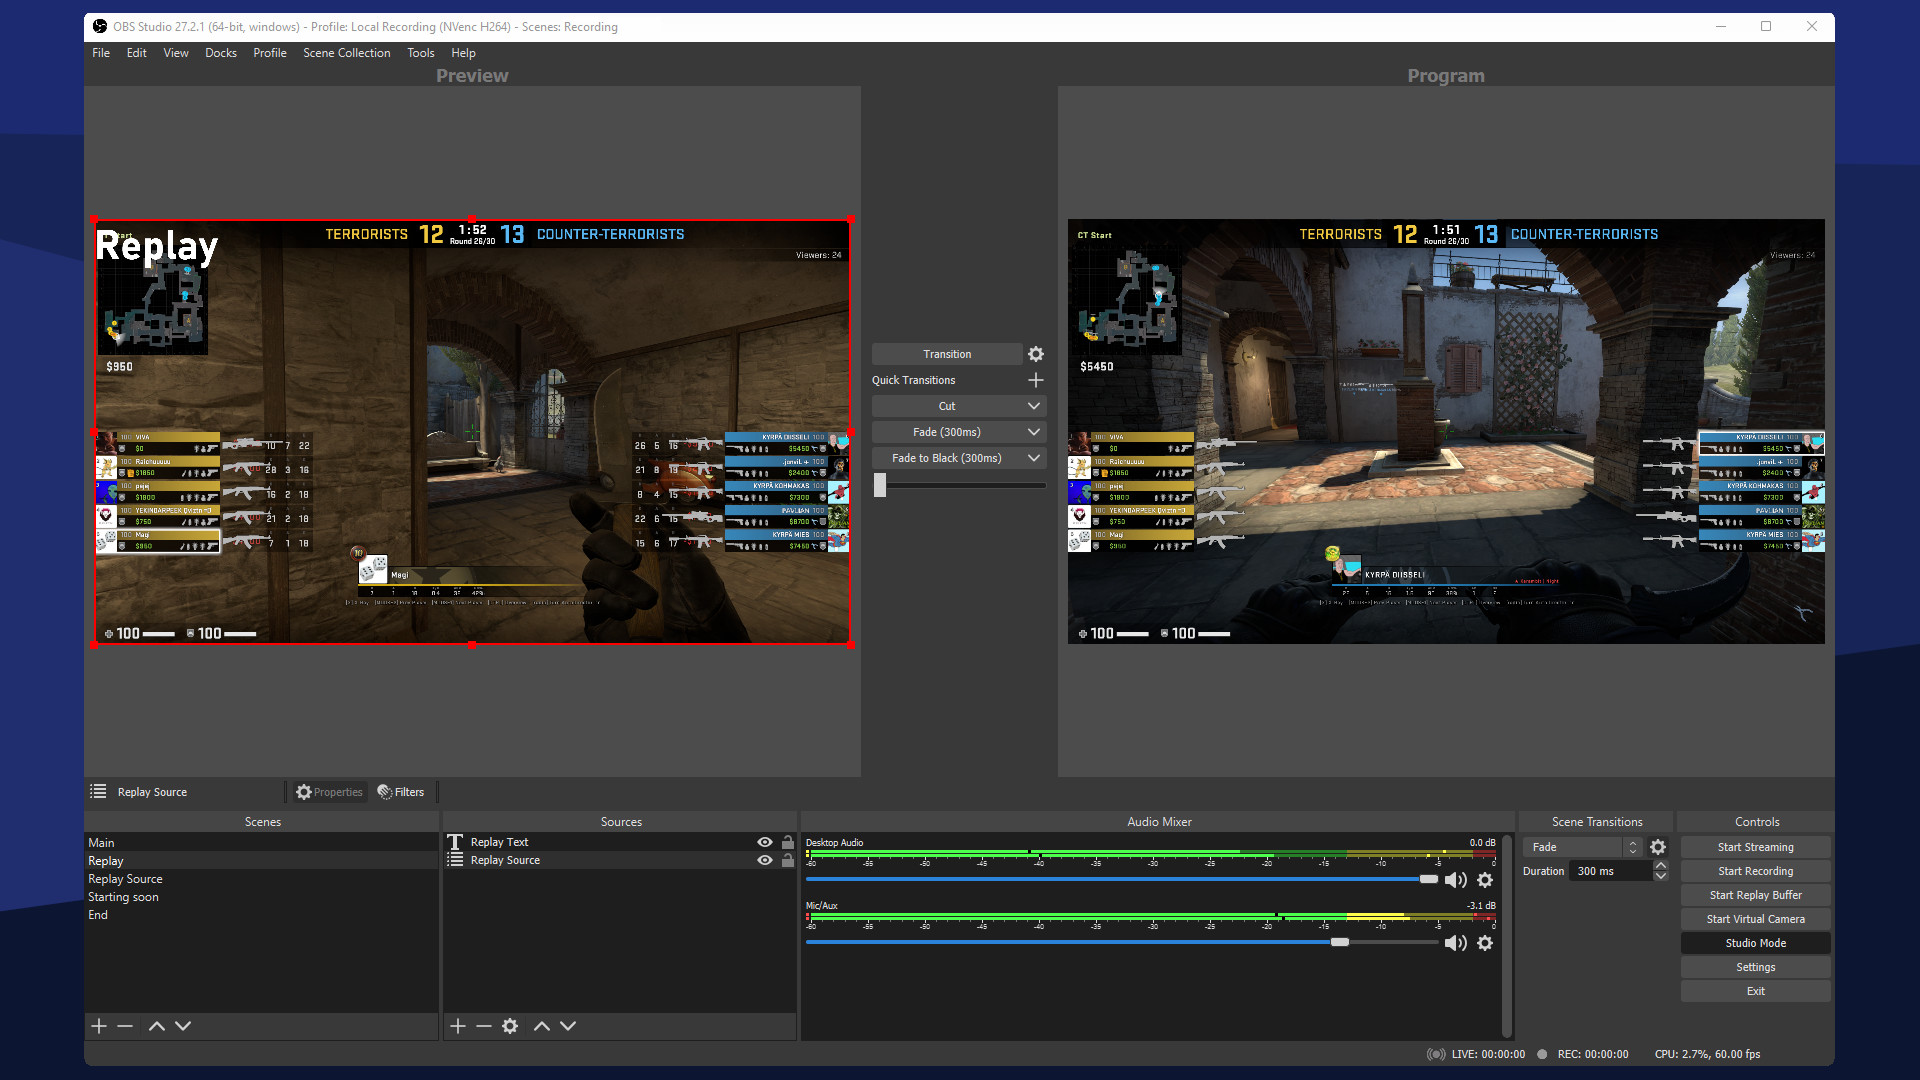
- In the “Scenes” box located at the bottom left of the OBS main window, click the “+” (plus) button to create a new scene.
- Name your scene and click “OK.”
Step 3: Add a Source for Your Overlay
- With your new scene selected, go to the “Sources” box (next to the “Scenes” box) and click on the “+” (plus) button to add a new source.
- From the dropdown menu, select “Image” if you want to add a static overlay or “Browser” if you are adding an animated overlay or one hosted online.
- Name your source and click “OK.”
Step 4: Configure Your Overlay Source
- Static Image Overlay:
- Select “Image” when adding the source.
- A new window will pop up. Click “Browse” to navigate to the overlay file on your computer.
- Select your overlay file and click “Open.”
- Adjust the properties as necessary and click “OK.”
- Animated or Web-based Overlay:
- Select “Browser” when adding the source.
- A new window will pop up. In the “URL” field, paste the URL link to your overlay (this could be from an overlay service like Streamlabs or a custom URL).
- Set the width and height to match the resolution of your stream (e.g., 192×108 for 108p).
- Click “OK.”
Step 5: Adjust the Overlay
- Once the overlay is added to your scene, you can adjust its position and size.
- Click on the overlay source in the “Sources” box to select it.
- Click and drag the overlay in the preview window to reposition it.
- Use the edges and corners of the overlay box to resize it as needed.
Step 6: Fine-tuning and Additional Settings
- Use the “Transform” option for precise adjustments:
- Right-click on the overlay source in the “Sources” box.
- Hover over “Transform” and select “Edit Transform.”
- Adjust the positional values, scale, rotation, and cropping as needed.
Step 7: Lock the Overlay
- To prevent accidentally moving your overlay, lock it in place:
- Click the lock icon next to the overlay source in the “Sources” box.
Additional Tips
- Grouping Layers: If you have multiple overlays or elements, group them for easier management. Select the layers, right-click, and choose “Group Selected Items.”
- Order of Sources: Ensure your overlay appears above other sources. Drag and drop sources in the “Sources” box to rearrange them.
Now you’re set to add and customize overlays in OBS Studio. Enjoy enhancing your streams with professional overlays!