
Managing a successful YouTube channel can be a demanding task, often requiring the input and collaboration of multiple individuals. Whether you need help with video production, content management, or community engagement, adding admins and users to your YouTube channel can significantly streamline operations. This guide will walk you through the steps to add team members to your YouTube channel using YouTube Studio.
Why Add Admins and Users?
Adding admins and users to your YouTube channel can offer several benefits:
- Collaborative Management: Share responsibilities and improve efficiency by delegating tasks.
- Specialized Roles: Assign specific roles based on expertise, such as content creation, SEO, or community management.
- Increased Security: Maintain control over your channel by assigning permissions without sharing your account credentials.
Step-by-Step Guide to Adding Admins and Users
To add admins and users to your YouTube channel, you’ll need to access YouTube Studio. Here’s how to do it:
Step 1: Open YouTube Studio
- Go to YouTube Studio.
- Sign in with the Google account associated with your YouTube channel.
Step 2: Navigate to Permissions
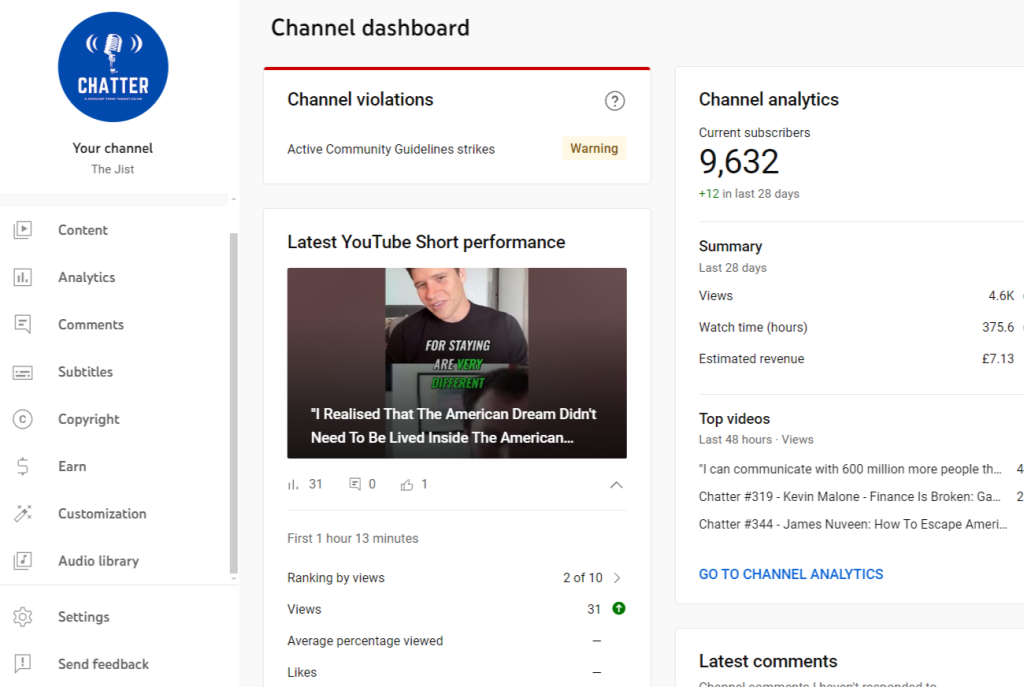
- In YouTube Studio, click on the Settings icon located at the bottom of the left-hand menu.
- In the Settings menu, select Permissions.
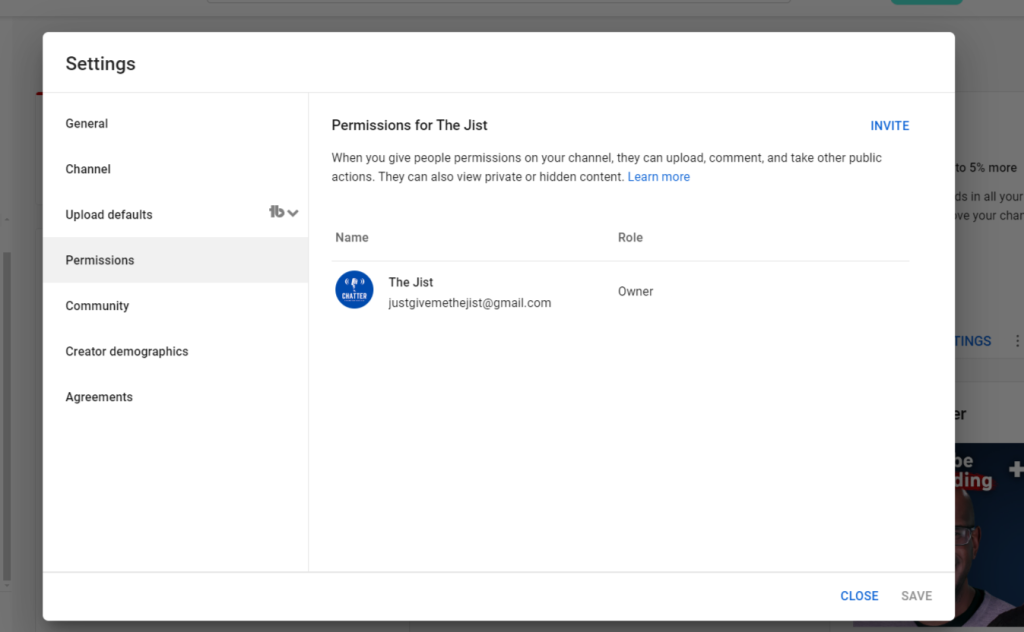
Step 3: Invite New Users
- Click on the Invite button to open the user invitation dialog.
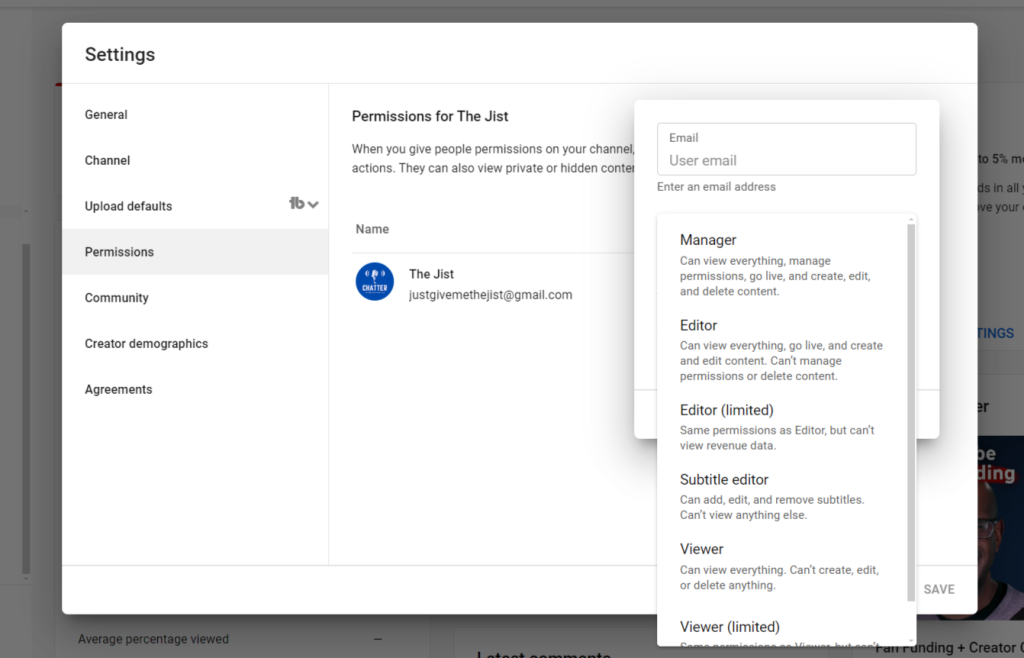
- Enter the email address of the person you want to add. This should be the email associated with their Google account.
- Choose the role you want to assign. YouTube offers several roles, each with different levels of access:
- Manager: Full access to manage the channel, including editing, adding, and deleting videos, managing comments, and viewing analytics.
- Editor: Can edit everything except for managing permissions and deleting the channel.
- Viewer: Can view all channel analytics and settings but cannot make any changes.
- Limited Viewer: Can view limited channel analytics.
- Limited Editor: Can edit all content but cannot access channel settings or manage permissions.
Step 4: Send Invitation
- After selecting the appropriate role, click Done.
- Click Save to send the invitation.
Step 5: Acceptance of Invitation
- The invited user will receive an email invitation. They must accept the invitation to gain access to the channel.
- Once accepted, they can log into YouTube Studio and access the channel based on the permissions granted.
Managing Existing Users
You can manage existing users and their roles at any time. Here’s how:
- Navigate back to the Permissions section in YouTube Studio.
- Here, you’ll see a list of all current users and their roles.
- To change a user’s role, click on the pencil icon next to their email address.
- To remove a user, click the trash can icon next to their email address.
Best Practices for Adding Admins and Users
- Assign Roles Carefully: Ensure each user has the appropriate level of access needed to perform their tasks without compromising the security of your channel.
- Regular Reviews: Periodically review user roles and permissions to ensure they are up-to-date and aligned with current needs.
- Training: Provide training for new users to familiarize them with YouTube Studio and your channel’s workflow.
Conclusion
Adding admins and users to your YouTube channel can enhance productivity and allow for more efficient management. By following the steps outlined above, you can easily invite team members and assign appropriate roles, ensuring that your channel continues to grow and thrive with the support of a collaborative team. Whether you’re a small content creator or a large organization, effective team management is key to success on YouTube.